

Loading nails into an air nail gun is a fundamental skill that every user, whether a professional contractor or a DIY enthusiast, should master. As an air nail gun supplier, we understand the importance of providing clear guidance on this process to ensure seamless operation and optimal performance of our products. In this blog post, we'll walk you through the step-by-step process of loading nails into an air nail gun, shed light on some essential safety precautions, and also offer insights into our diverse range of nail guns.
Understanding Your Air Nail Gun
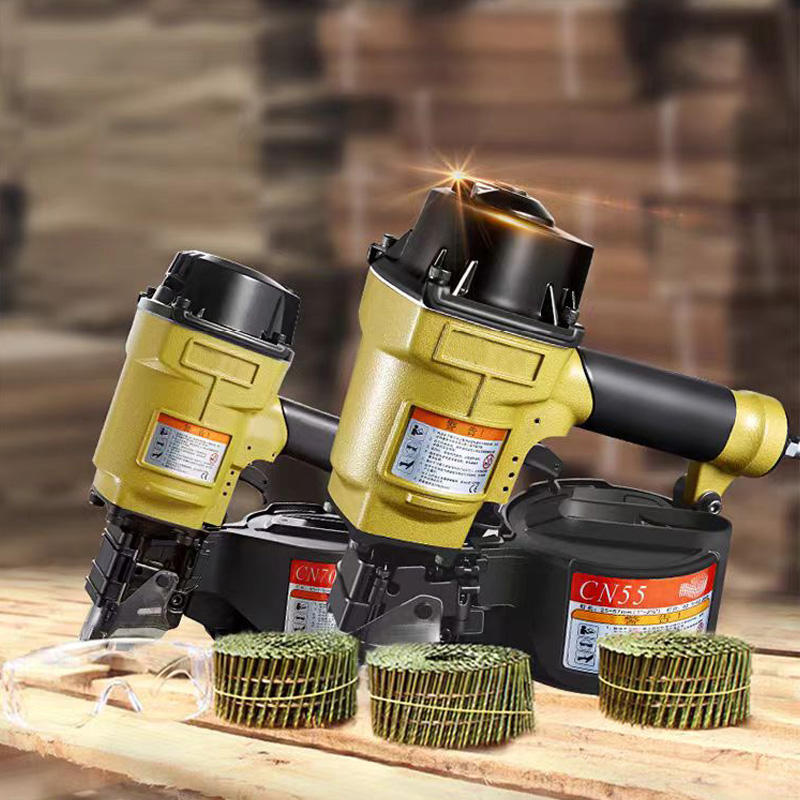
Before you start loading nails, it's crucial to understand the different types of air nail guns and the specific nails they use. Air nail guns come in various forms, including framing nailers, finish nailers, brad nailers, and roofing nailers, each designed for different applications. Our company offers a wide selection of air nail guns, such as the Industrial Coil Nail Gun, Flat Coil Nailer Cn70, and Pneumatic Pallet Nailer, to cater to different needs.

Step-by-Step Guide to Loading Nails
Step 1: Safety First
Before you begin loading nails into your air nail gun, ensure that the gun is disconnected from the air supply. This is a critical safety measure to prevent accidental firing, which could lead to serious injury. Always wear safety glasses to protect your eyes from any debris that may be dislodged during the loading process.
Step 2: Identify the Nail Magazine
The nail magazine is the part of the air nail gun where the nails are stored. It is usually located at the bottom of the gun and is designed to hold a specific type and size of nails. Different models of air nail guns may have slightly different magazine designs, so it's important to refer to your user manual for specific instructions.
Step 3: Open the Magazine
Most air nail guns have a release mechanism that allows you to open the magazine. This can be a latch, a button, or a lever, depending on the model. Once you've located the release mechanism, engage it to open the magazine. Be careful not to apply too much force, as this could damage the magazine or the gun.
Step 4: Choose the Right Nails
Ensure that you are using the correct type and size of nails for your air nail gun. Using the wrong nails can cause jams, misfires, and damage to the gun. Our company provides detailed information about the compatible nails for each of our air nail gun models on our product pages.
Step 5: Load the Nails
Once you've selected the appropriate nails, load them into the magazine. Start by aligning the nails with the guide rails inside the magazine. Make sure the nails are facing the right direction, usually with the heads towards the front of the magazine. Carefully insert the nails into the magazine, taking care not to force them or cause them to bend.
Step 6: Close the Magazine
After loading the nails, close the magazine securely. Make sure the release mechanism engages properly and that the magazine is firmly in place. You should hear a click or feel a solid connection when the magazine is closed correctly.
Step 7: Reconnect the Air Supply
Once the nails are loaded and the magazine is closed, you can reconnect the air supply to the nail gun. Make sure the air hose is properly attached and that there are no leaks.
Tips for Loading Nails Effectively
- Keep the Magazine Clean: Regularly clean the nail magazine to prevent dirt, debris, and nail dust from accumulating. This will help ensure smooth nail feeding and reduce the risk of jams.
- Inspect the Nails: Before loading the nails, inspect them for any defects, such as bent or damaged nails. Using damaged nails can cause jams and other issues.
- Load the Nails in Small Batches: If you need to load a large number of nails, it's a good idea to load them in small batches to avoid overloading the magazine. This will also make it easier to manage the nails and prevent them from getting tangled.
Troubleshooting Nail Loading Issues
- Jams: If you encounter a jam, first disconnect the air supply from the nail gun. Then, carefully open the magazine and remove any jammed nails. Make sure to clear any debris or obstructions from the magazine and the nail feed mechanism. Once the jam is cleared, you can reload the nails and resume using the gun.
- Misfires: Misfires can be caused by a variety of factors, including using the wrong type or size of nails, a dirty or damaged nail gun, or low air pressure. Check the nails, clean the gun, and ensure that the air pressure is set correctly. If the problem persists, contact our customer support team for further assistance.
Conclusion
Loading nails into an air nail gun is a relatively simple process, but it's important to follow the correct steps and take the necessary safety precautions. By understanding your air nail gun, choosing the right nails, and loading them correctly, you can ensure smooth operation and optimal performance. If you have any questions or need further assistance, our team of experts is always here to help.
We invite you to explore our extensive range of air nail guns, including the Industrial Coil Nail Gun, Flat Coil Nailer Cn70, and Pneumatic Pallet Nailer. If you're interested in purchasing our products or discussing your specific requirements, please don't hesitate to contact us for a quote and to start a procurement negotiation. We're committed to providing high-quality products and excellent customer service to meet your needs.
References
- Manufacturer's user manuals for air nail guns
- Safety guidelines for pneumatic tools