

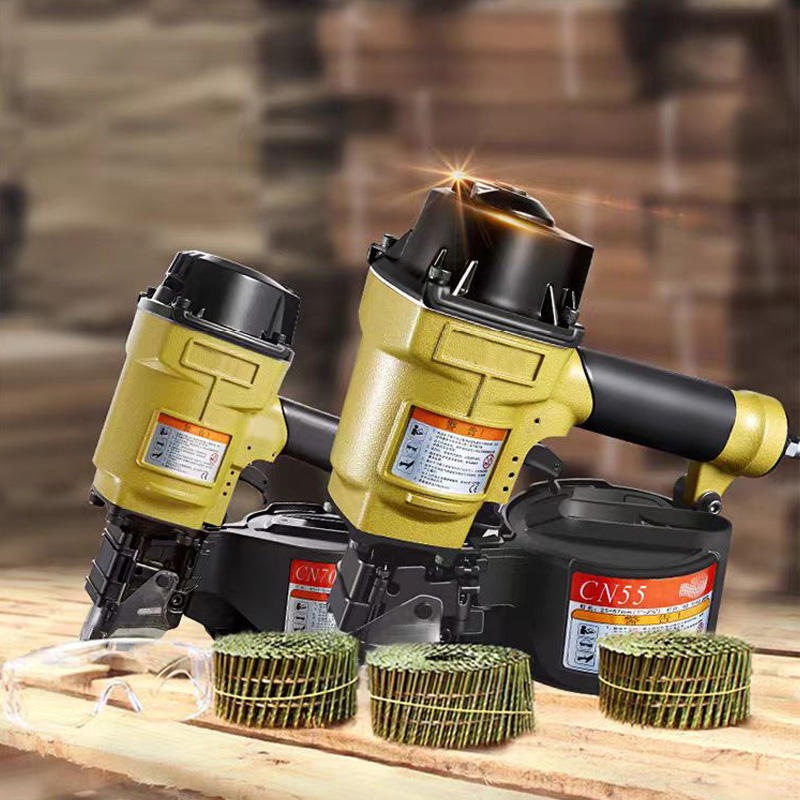
Hey there! As a supplier of the Cn70 Air Nail Gun, I know how important it is to keep your tools in top - notch condition. Regular cleaning of your Cn70 Air Nail Gun not only extends its lifespan but also ensures it performs at its best every time you use it. In this blog, I'll walk you through the step - by - step process of disassembling the Cn70 Air Nail Gun for cleaning.
Before You Start
First things first, safety is key. Make sure the nail gun is disconnected from the air supply. You don't want any accidental firing while you're taking it apart. Also, gather all the tools you'll need. You'll typically need a small set of wrenches, a screwdriver, and some cleaning solvents. It's a good idea to lay out a clean, flat surface where you can place the parts as you remove them. This will help you keep track of everything and make reassembly a breeze.
Step 1: Remove the Magazine
The magazine is where the nails are loaded. It's usually easy to spot and access. Look for the release mechanism, which is often a small lever or button. Press or slide it to release the magazine from the nail gun. Once it's free, carefully pull it out. The magazine can accumulate a lot of debris, like dust and small pieces of wood, so it's an important part to clean. You can use a brush to remove the loose dirt and then soak it in a cleaning solvent if needed. Check out our Heavy Duty Fence Coil Nailer for a similar design and learn more about its maintenance as well.
Step 2: Take Out the Firing Mechanism
Next up is the firing mechanism. This is the part that actually shoots the nails. There are usually a few screws holding it in place. Use your screwdriver to remove these screws. Be gentle as you take out the firing mechanism. It's a delicate part, and you don't want to damage any of the internal components. Once it's out, you can see all the moving parts. Look for any signs of wear and tear, like rust or excessive dirt. You can use a cleaning cloth and some solvent to clean the parts. Make sure to dry them thoroughly before putting them back in.
Step 3: Disassemble the Cylinder
The cylinder is where the air pressure is built up to fire the nails. It's connected to the rest of the nail gun by a few hoses and fittings. Use your wrenches to carefully loosen and remove these connections. Once the cylinder is free, you can open it up. Inside, you'll find a piston and other components. These parts can get dirty over time, especially if you've been using the nail gun in a dusty environment. Clean them with a brush and solvent, and then inspect them for any damage. If you're interested in other models, our Cn55 Pneumatic Coil Siding Nailer has a similar cylinder design and can give you more insights into its maintenance.
Step 4: Remove the Air Inlet
The air inlet is where the air supply connects to the nail gun. There's usually a nut or fitting that holds it in place. Use your wrench to remove this. Once the air inlet is off, you can clean it thoroughly. Check for any blockages or debris that might be restricting the air flow. A blocked air inlet can cause the nail gun to not work properly, so it's important to keep it clean.
Step 5: Clean All the Parts
Now that you've disassembled all the major parts, it's time to clean them. You can use a combination of brushes, cleaning solvents, and cloths. For the metal parts, a wire brush can be great for removing stubborn dirt and rust. For the plastic parts, a soft - bristled brush and a mild solvent will do the trick. Make sure to clean all the nooks and crannies, as dirt can accumulate in the smallest spaces. After cleaning, dry all the parts completely. You don't want any moisture left behind, as it can lead to rust and corrosion.
Step 6: Reassemble the Nail Gun
Once all the parts are clean and dry, it's time to put the nail gun back together. Start with the air inlet. Reattach it using the nut or fitting you removed earlier. Make sure it's tightened properly but not too tight, as you don't want to strip the threads. Then, put the cylinder back in place and reconnect the hoses and fittings. Next, insert the firing mechanism and secure it with the screws. Finally, reattach the magazine.
Step 7: Test the Nail Gun
After reassembly, it's important to test the nail gun. Reconnect it to the air supply and make sure it's working properly. Fire a few test nails into a scrap piece of wood. Check if the nails are being fired smoothly and with the right amount of force. If you notice any issues, like misfires or weak shots, double - check your reassembly and make sure all the parts are in the right place.
Additional Tips
- Regular maintenance is key. Try to clean your Cn70 Air Nail Gun after every few uses, especially if you're using it in a dirty environment.
- Use high - quality cleaning solvents. They'll do a better job of removing dirt and grime without damaging the parts.
- Keep spare parts on hand. Things can wear out over time, and having spare parts like O - rings and springs can save you a lot of time and hassle.
If you're in the market for a reliable air nail gun or need more information about our products, including the Cn70 Air Nail Gun, don't hesitate to reach out. We're here to help you with all your nail gun needs. And if you're interested in a more heavy - duty option, take a look at our Cn80 Coil Framing Nailer.
Conclusion
Disassembling and cleaning your Cn70 Air Nail Gun is not as complicated as it might seem. By following these steps, you can keep your nail gun in great condition and ensure it serves you well for years to come. If you have any questions or need further advice, feel free to contact us. We're always happy to assist you with your purchase and maintenance needs.

References
- Manufacturer's manual for the Cn70 Air Nail Gun
- General knowledge of air nail gun maintenance and repair