Hey there! As an air nail gun supplier, I've seen my fair share of issues with these handy tools. One common problem that can really mess up your nail - gun's performance is a dirty air hose. In this blog, I'm gonna walk you through how to clean the air hose of an air nail gun, so you can keep your tool in top - notch condition.
Why Clean the Air Hose?
Before we get into the cleaning process, let's talk about why it's so important to clean the air hose. Over time, dirt, debris, and moisture can build up inside the air hose. This buildup can restrict the airflow, which means your nail gun won't work as efficiently. You might notice that the nails aren't being driven in as deeply or that the gun jams more frequently. Plus, dirty air hoses can also cause damage to the internal components of the nail gun, leading to costly repairs or even the need for a new tool.
Tools and Materials You'll Need
To clean the air hose of your air nail gun, you'll need a few basic tools and materials:
- Compressed air source: This can be an air compressor or a can of compressed air.
- Cleaning solution: You can use a mild detergent or a specialized air - tool cleaner.
- A long, thin brush: A pipe cleaner or a small wire brush works well.
- A bucket of clean water
- Towels or rags for drying
Step - by - Step Cleaning Process
Step 1: Disconnect the Air Hose
First things first, you need to disconnect the air hose from the air nail gun and the air compressor. This is crucial for your safety, as you don't want any accidental air pressure while you're cleaning. Make sure to relieve any remaining air pressure in the hose by gently pressing the trigger on the nail gun.
Step 2: Inspect the Hose
Take a close look at the air hose for any visible signs of damage, such as cracks, leaks, or kinks. If you find any serious damage, it might be time to replace the hose. Minor damage can sometimes be repaired with a hose repair kit, but if you're not sure, it's better to err on the side of caution.
Step 3: Flush the Hose with Compressed Air
Connect the compressed air source to one end of the air hose. Hold the other end over a trash can or outside, and blast the compressed air through the hose. This will help to dislodge and remove any loose dirt, debris, or moisture that's inside the hose. Keep the air flowing for a few minutes, and you might be surprised at how much comes out!
Step 4: Prepare the Cleaning Solution
Fill a bucket with warm water and add a small amount of your chosen cleaning solution. Mix it well until it forms a soapy solution. You don't want it to be too concentrated, as this could leave a residue in the hose.
Step 5: Clean the Inside of the Hose
Dip the long, thin brush into the cleaning solution and insert it into the air hose. Gently scrub the inside of the hose, moving the brush back and forth. This will help to break up any stubborn dirt or grime that the compressed air didn't remove. Make sure to reach all the way to the end of the hose.

Step 6: Rinse the Hose
Once you've scrubbed the inside of the hose, rinse it thoroughly with clean water. You can do this by holding the hose under a faucet or by using a bucket of clean water to pour through the hose. Keep rinsing until the water runs clear, indicating that all the cleaning solution and dirt have been removed.
Step 7: Dry the Hose
After rinsing, use towels or rags to dry the outside of the hose. Then, use compressed air to blow through the hose again to remove any remaining moisture from the inside. Make sure the hose is completely dry before reconnecting it to the nail gun and the air compressor.
Step 8: Reconnect and Test
Once the air hose is dry, reconnect it to the air nail gun and the air compressor. Turn on the air compressor and test the nail gun to make sure it's working properly. You should notice an improvement in its performance, with smoother operation and better nail - driving power.
Tips for Maintaining a Clean Air Hose
- Use an air filter: An air filter on your air compressor can help to prevent dirt and debris from entering the air hose in the first place.
- Drain the air compressor regularly: Moisture can build up in the air compressor, and if it's not drained regularly, it can end up in the air hose.
- Store the nail gun and air hose properly: When you're not using the nail gun, store it and the air hose in a clean, dry place. This will help to prevent dirt and moisture from accumulating.
Our Air Nail Gun Products
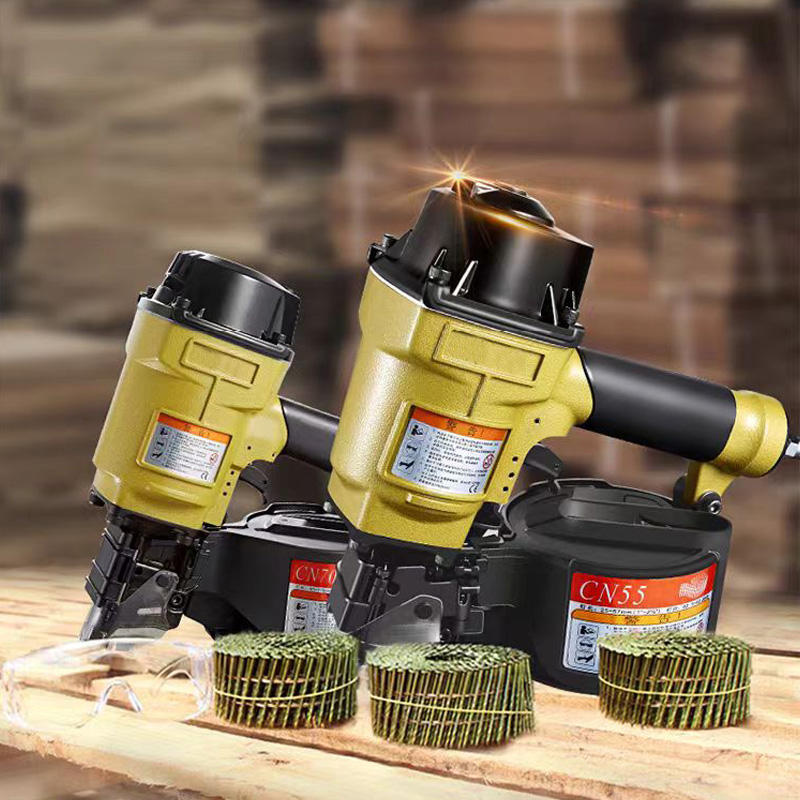
As an air nail gun supplier, we offer a wide range of high - quality air nail guns to meet your needs. For example, our Cn80 Coil Framing Nailer is perfect for heavy - duty framing jobs. It's built to last and can handle even the toughest materials. If you're looking for a more versatile option, our Adjustable Siding Nailer allows you to adjust the depth of the nails, making it ideal for siding projects. And for those who need a reliable pneumatic coil siding nailer, our Cn55 Pneumatic Coil Siding Nailer is a great choice. It's easy to use and provides consistent performance.
Contact Us for Purchasing
If you're interested in our air nail guns or have any questions about cleaning and maintaining them, don't hesitate to reach out. We're here to help you find the right tool for your project and ensure that it stays in great condition. Whether you're a professional contractor or a DIY enthusiast, we have the products and expertise to meet your needs.
References
- "Air Tool Maintenance Guide" - Generic air tool maintenance literature
- Personal experience as an air nail gun supplier