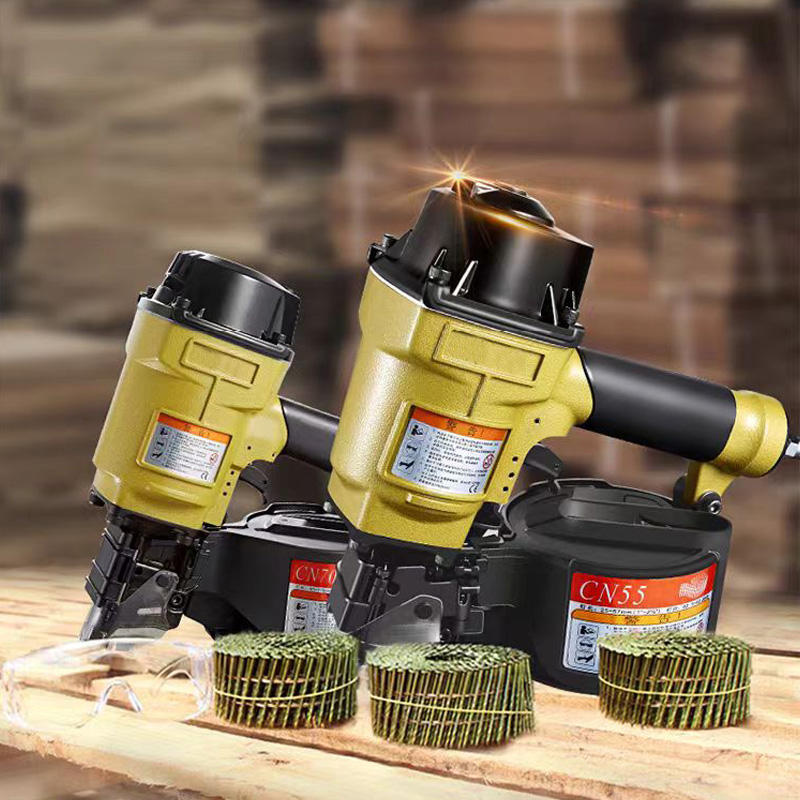
As a supplier of the Cn55 Air Nail Gun, I often receive inquiries from customers about how to adjust the firing force of this powerful tool. The Cn55 Air Nail Gun is a versatile and reliable device widely used in various construction and woodworking projects. Proper adjustment of the firing force is crucial for achieving optimal performance and ensuring the safety and efficiency of your work. In this blog post, I will share some practical tips on how to adjust the firing force of the Cn55 Air Nail Gun.
Understanding the Basics of Firing Force Adjustment
Before diving into the adjustment process, it's important to understand the factors that affect the firing force of an air nail gun. The firing force of the Cn55 Air Nail Gun is primarily determined by the air pressure supplied to the tool. Higher air pressure generally results in a stronger firing force, while lower air pressure produces a weaker force. Additionally, the type and size of the nails being used can also influence the required firing force.
Tools and Materials You'll Need
To adjust the firing force of the Cn55 Air Nail Gun, you'll need the following tools and materials:
- Air compressor: Make sure your air compressor is capable of providing a stable and consistent air pressure. The recommended air pressure range for the Cn55 Air Nail Gun is typically between 70 and 120 PSI (pounds per square inch).
- Pressure regulator: A pressure regulator is used to control the air pressure supplied to the nail gun. It allows you to adjust the pressure according to your specific needs.
- Nails: Use the appropriate type and size of nails for your project. Refer to the user manual of the Cn55 Air Nail Gun for the recommended nail specifications.
Step-by-Step Guide to Adjusting the Firing Force
Follow these steps to adjust the firing force of the Cn55 Air Nail Gun:

Step 1: Prepare the Work Area
Before making any adjustments, ensure that the work area is clean and free of debris. This will prevent any interference with the nail gun's operation and ensure accurate adjustments.
Step 2: Connect the Air Compressor
Connect the air compressor to the Cn55 Air Nail Gun using an air hose. Make sure the connection is secure and there are no air leaks.
Step 3: Set the Initial Air Pressure
Turn on the air compressor and allow it to build up pressure. Set the initial air pressure on the pressure regulator to the recommended minimum value (usually around 70 PSI).
Step 4: Test the Firing Force
Load a few nails into the nail gun and test the firing force on a scrap piece of wood or other suitable material. Observe the depth at which the nails are driven into the material. If the nails are not driven deep enough, increase the air pressure on the pressure regulator in small increments (e.g., 5 PSI at a time). If the nails are driven too deep, decrease the air pressure.
Step 5: Make Fine Adjustments
Continue testing the firing force and making fine adjustments to the air pressure until you achieve the desired depth of nail penetration. It may take a few attempts to find the optimal air pressure for your specific project.
Step 6: Check for Consistency
Once you have found the appropriate air pressure, test the nail gun on several different areas of the workpiece to ensure consistent firing force. If the firing force varies, further adjust the air pressure or check for any issues with the nail gun or air supply.
Tips for Optimal Firing Force Adjustment
- Refer to the user manual: Always refer to the user manual of the Cn55 Air Nail Gun for specific instructions on firing force adjustment and recommended air pressure ranges.
- Use a pressure gauge: A pressure gauge can help you accurately measure the air pressure supplied to the nail gun and ensure consistent performance.
- Consider the material: Different materials require different firing forces. Adjust the air pressure accordingly based on the hardness and thickness of the material you are working with.
- Test on scrap material: Before starting your project, test the firing force on a scrap piece of the same material to ensure the nails are driven to the correct depth.
- Maintain the nail gun: Regularly clean and lubricate the Cn55 Air Nail Gun to ensure smooth operation and optimal performance.
Other Related Products
In addition to the Cn55 Air Nail Gun, we also offer a range of other high-quality air nail guns, including the Adjustable Siding Nailer, Flat Coil Nailer Cn70, and Cn80 Coil Framing Nailer For Construction. These tools are designed to meet the diverse needs of construction and woodworking professionals.
Conclusion
Adjusting the firing force of the Cn55 Air Nail Gun is a relatively simple process that can significantly improve the performance and efficiency of your work. By following the steps outlined in this blog post and using the tips provided, you can ensure that the nails are driven to the correct depth and achieve professional-quality results. If you have any further questions or need assistance with firing force adjustment or any other aspect of our air nail guns, please don't hesitate to contact us. We are here to help you find the right tools for your project and ensure your satisfaction.
References
- Cn55 Air Nail Gun User Manual
- Air Compressor Manufacturer's Instructions